
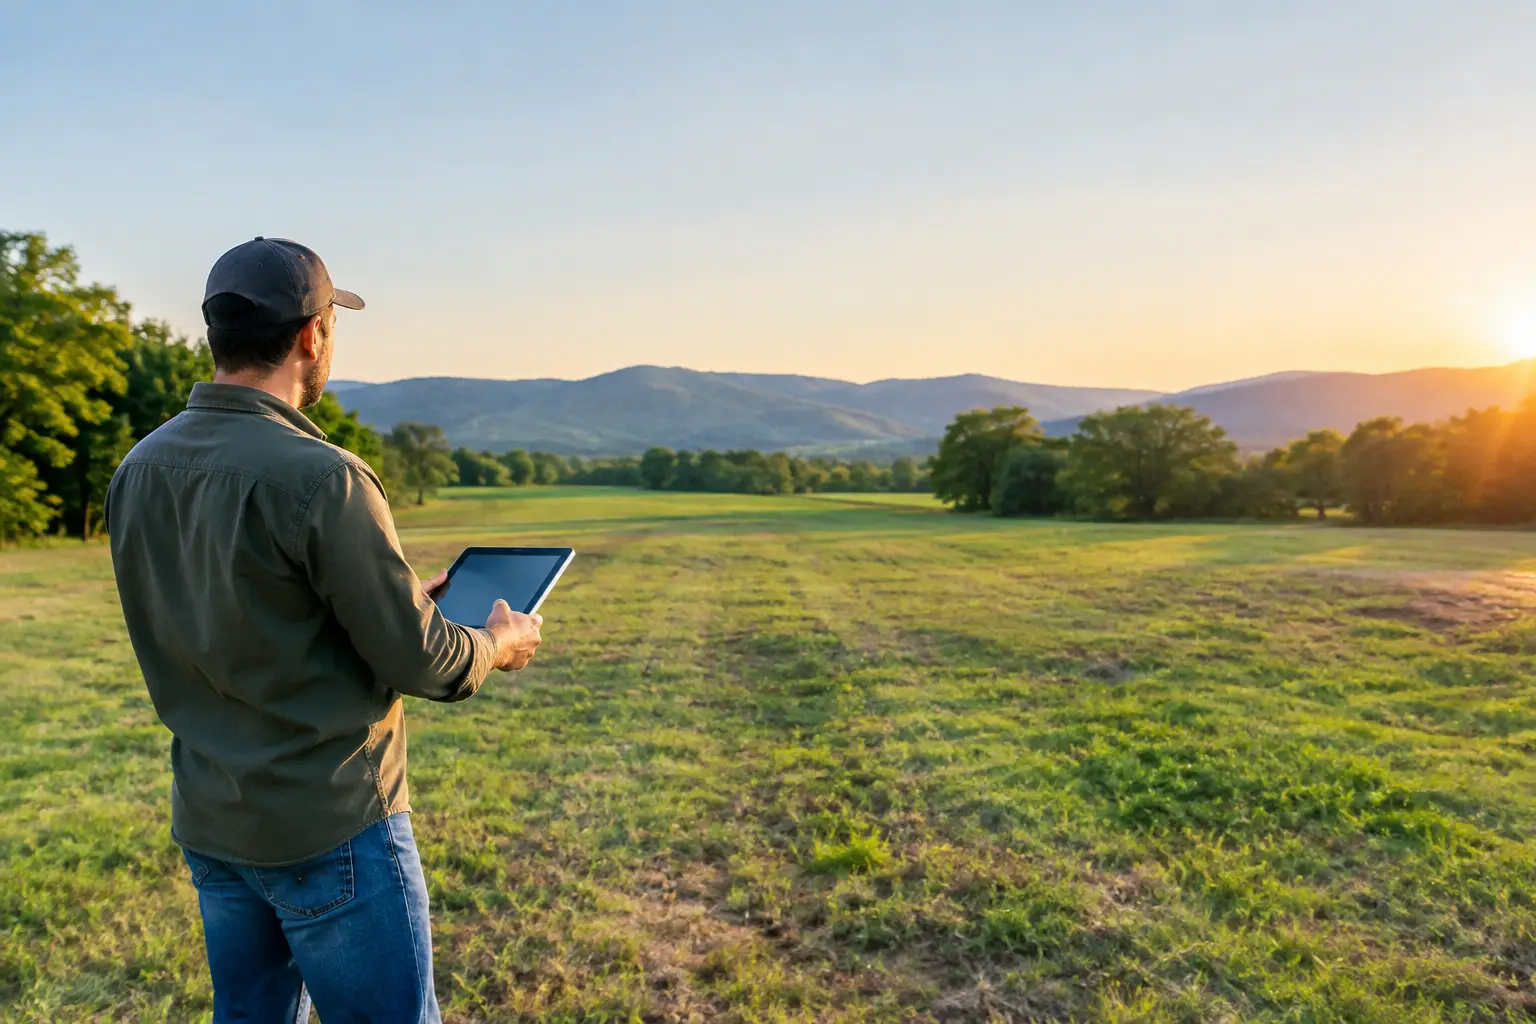
A vacant parcel can be a great opportunity, but a buyer cannot feel that opportunity through a photo of waist-high weeds, an unmarked entrance, and a distant wall of trees. To prepare land for listing photos, focus on the features that answer a buyer’s first questions: Where is the access? What does the terrain look like? What could this land be used for?
Strong land photos do more than make a listing look polished. They reduce uncertainty before a buyer schedules a showing, asks for maps, or makes an offer. Whether you are selling a small residential lot, hunting acreage, a rural homesite, or an off-grid recreational parcel, a little preparation can make the property easier to understand and more appealing to the right buyer.
Start With the Story Your Land Can Honestly Tell
Every parcel has a best use, and your photos should support it. A wooded recreational tract should highlight trails, mature trees, creek access, and places to camp or hunt. A residential lot should make utilities, road frontage, building areas, and neighborhood context easy to see. Farm or ranch land may need photos of fencing, gates, water sources, pasture condition, and usable acreage.
This is not about hiding limitations. If a parcel has steep sections, seasonal access, flood-prone ground, or dense timber, photos should present the property accurately while showing its value. Buyers of vacant land are often comfortable with trade-offs when they understand them upfront. The goal is to help qualified buyers recognize what they are looking at.
Before cleaning up the property, walk it with a simple shot plan. Identify the entrance, the best road frontage, open or level areas, distinctive natural features, views, improvements, and any feature that supports the intended use. This keeps photo day focused and prevents you from overlooking the details buyers care about most.
Improve Access Before You Photograph
Access is one of the first things land buyers evaluate. If the entrance is difficult to spot, blocked by brush, or hidden behind an old gate, the property can appear less usable than it really is. Clear light vegetation from the entrance and along the first portion of the drive or trail, where appropriate and permitted. Remove fallen branches, visible trash, and anything that creates the impression of neglect.
You do not need to build a new road to market land effectively. You do need to show the existing access honestly. Photograph the road leading to the parcel, the entrance from both directions, any gate, and the drive, easement, or trail that continues into the property. If access is seasonal or requires a high-clearance vehicle, describe that clearly in the listing rather than trying to make it appear otherwise.
If there is a locked gate, plan ahead. Have it unlocked for the photographer or provide access at the agreed time. A photo taken through a closed gate is rarely as useful as one taken from inside the property looking back toward the road.
Clear Just Enough to Show Usable Ground
Over-clearing can cost money and remove the privacy or natural character that attracted buyers in the first place. Instead, clear strategically. Mow or trim a path to key areas, open up the view from the road, and make the most useful parts of the land visible.
For a homesite parcel, that may mean mowing the potential building area and the route from the road to that location. For a wooded tract, it may mean clearing a walkable trail to a creek, ridge, food plot, or campsite. For a lot in a developed area, edge trimming and basic cleanup can make lot lines and available space far easier to read.
Avoid photographing immediately after heavy brush cutting if the property looks torn up or covered in debris. Haul away clippings when possible, or give the site time to settle. The objective is a maintained appearance, not a construction-zone look.
Make Boundaries and Improvements Easy to Understand
Buyers should never rely on photos alone to verify property lines, but visible corners, survey stakes, fencing, and marked boundaries can help them understand the parcel’s layout. If survey pins or stakes are present, clear brush around them without moving or altering anything. If boundaries are marked with paint or signs, make sure the markings are lawful, visible, and consistent with your survey or recorded information.
Do not guess at boundary locations for the sake of a photo. A misleading image can create problems later and weaken buyer trust. When the lines are not obvious on the ground, use photos to show landmark features, then pair the listing with a clear parcel map or survey document where available.
Also photograph improvements that affect value or use. This includes gravel drives, culverts, fencing, wells, power poles, sheds, cleared pads, trails, docks, or septic components. Take a wide photo to show how an improvement fits the land and a closer photo to document its condition.
Use the Right Light and Season
Land photography is highly dependent on timing. Midday sunlight can flatten the terrain, wash out open fields, and create harsh shadows beneath trees. Early morning and late afternoon usually provide better light, more texture, and a stronger sense of depth. Those hours can make a rolling field, mountain view, or mature timber stand look more dimensional without editing tricks.
The best season depends on the property. Spring can show green growth and flowing water. Summer highlights shade, recreation, and lush vegetation, though dense foliage may hide views and terrain. Fall can reveal roadways, slopes, and hardwood character. Winter often makes land contours, distant views, and access routes easier to see.
If your land has a feature that changes throughout the year, such as a seasonal creek or a spectacular fall view, consider using a few current photos along with clearly labeled seasonal images. Just make sure the listing does not imply that every feature looks the same year-round.
Capture the Photos Buyers Actually Need
A listing should include more than one attractive hero image. Buyers need a practical visual tour that helps them decide whether the parcel fits their plans. Aim for a balanced collection of wide shots, detail photos, and context images.
Include photos of these key areas when they apply:
- The road approach, entrance, gate, and frontage
- Open ground, potential building sites, and interior trails
- Views, water features, timber, pasture, or recreational amenities
- Utilities, improvements, fencing, and other value-driving features
- Nearby context, such as a maintained road, public land access, or waterfront setting
Take photos from standing height as well as from a slightly elevated position where safe. Elevated images can show the relationship between a cleared area, trees, roads, and water features. Drone photography can be especially useful for larger acreage, irregularly shaped parcels, and properties with a mix of open and wooded land.
If you use a drone, follow all applicable Federal Aviation Administration rules, local restrictions, and privacy requirements. Do not fly over neighboring homes or imply that adjacent land is part of the sale. Aerial photos are powerful, but they should clarify the property, not create confusion.
Keep Editing Honest and Useful
Basic editing is appropriate. Correcting brightness, straightening a horizon, and adjusting color so the image matches the actual scene can improve readability. What you should avoid is removing power lines, changing water levels, making a small clearing look much larger, or heavily altering the sky and vegetation.
Land buyers are often making decisions from hundreds of miles away. Accurate photos protect your time as much as theirs. When buyers arrive and find a property that matches the listing, they are more likely to stay engaged and move forward.
Organize images in a logical order, beginning with the strongest overview photo and then moving through access, interior features, improvements, and surrounding context. Captions can add real value when they identify a feature such as “gravel entrance from county road” or “cleared area near existing power line.” Keep captions factual and specific.
Prepare the Property for Buyer Visits Too
Your photo preparation should create a better showing experience, not just a better listing. If someone can follow the same cleared path shown in the photos, locate the gate easily, and see the property’s best features without struggling through brush, the listing feels credible.
Before publishing, compare your images with the facts of the property. Confirm that the photos reflect the parcel currently for sale, that visible improvements are included or properly explained, and that no image overstates road access, utilities, acreage, or views. This final check helps attract serious inquiries instead of avoidable questions.
A well-prepared property does not need to look like a manicured subdivision lot. It needs to look understandable, cared for, and full of possibility. Give buyers a clear view of what the land can become, and your photos can turn a quick scroll into a serious next step.


Join The Discussion